
Blows, microcracks, more or less serious breakages mark our surfboards. Some remind us of some nice outings, some other moments of ordinary stupidity ... like the time you placed the table on a bush so as not to dirty it and you didn't think it was blowing.
When it comes to getting back to the water quickly, we can use repair kits for minor damage, as we also explained in this post How to repair the surfboard in 10 minutes some time ago.
But repairs made on the fly, unfortunately, are not always sufficient and above all they are not eternal. It would be a good idea to replace repairs made in an emergency as soon as you have time to do it (like now ...).
Otherwise the risk is that water infiltration may occur or that the patch may give way in the middle of your exit.
In this tutorial, for example, we show you how we replaced the makeshift repair that we had done on the beach in Portugal, once we got home, and the repair to the tip that was broken during the flight.
The replacement of makeshift repairs or the repair of extensive and profound damage requires professional repairs that you can do yourself by following our advice, if you are a little familiar with the DIY, or entrusting the table to the your surf shop or trusted shaper.
1. CHECK THE CRITICAL POINTS
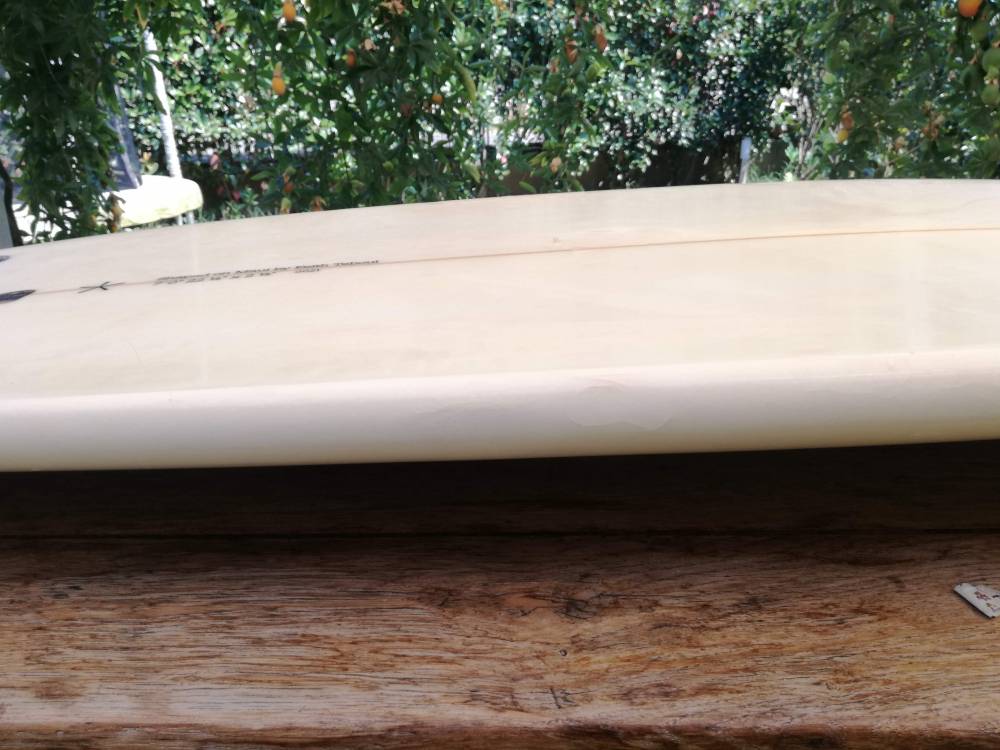
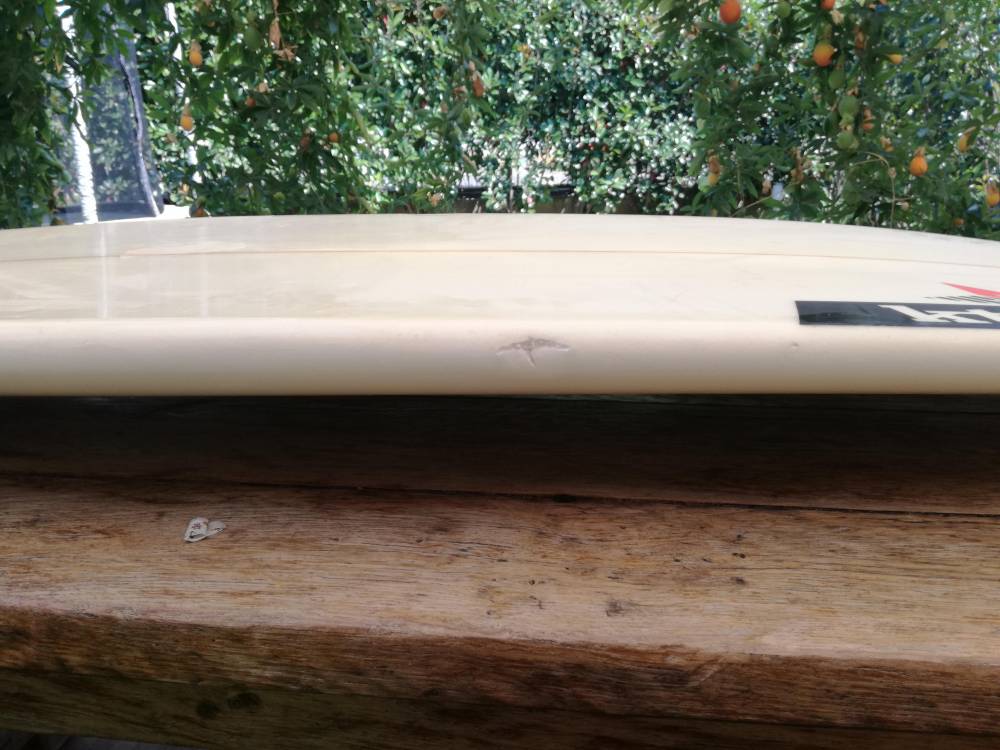
First of all check your whole surfboard well. Wipe. Remove the old paraffin and all the old makeshift repairs, American tape etc. If there are old repairs done with quick kits, try to blow them away. In any case, examine each critical point and do the breath test: rest your lips on the point to be examined and try to pull up the air. If you feel that some air is coming in, it means that there is a crack in that point and certainly some water will have infiltrated and must come out before repairing the table.
In the photo above you can see an old repair made on the beach on the table. We have therefore removed the makeshift repair to replace it with a definitive one.
2. CLEAN SERIOUS INFILTRATIONS
ONLY in the case of serious damage, and if you suspect that a fair amount of salt water has infiltrated, try to wash the salt away from the inside. To do this you will probably need to widen the crack even more, with a little sandpaper. This must allow you to be able to wash the inside with fresh water and to facilitate the escape of salt water.
Direct a stream of fresh water directly to the crack or gash on your table. The goal is to get fresh water into it so it can wash the salt away.
3. LET THE TABLE BREATHE
The second very important step is to take your beautiful clean tables and let them withdraw. If there are small cracks, repairs or anything else, it is very likely that you will see water come out after some time. Well, leave them like that for a few days. Better if in the sun or at home in the heat because in the garage in the cold you may not get great results. When for at least a couple of consecutive days you will no longer see bubbles and you will not find humidity, it means that you can go to repair.
Attention before capping any crack it is essential that the whole table inside is dried well.
4. WE PREPARE THE OCCURRENT
In our case we had an epoxy resin board. Most surfboards are made of polyester resin. I remind you that epoxy resin can also be used on polyester boards, while the opposite is absolutely not.
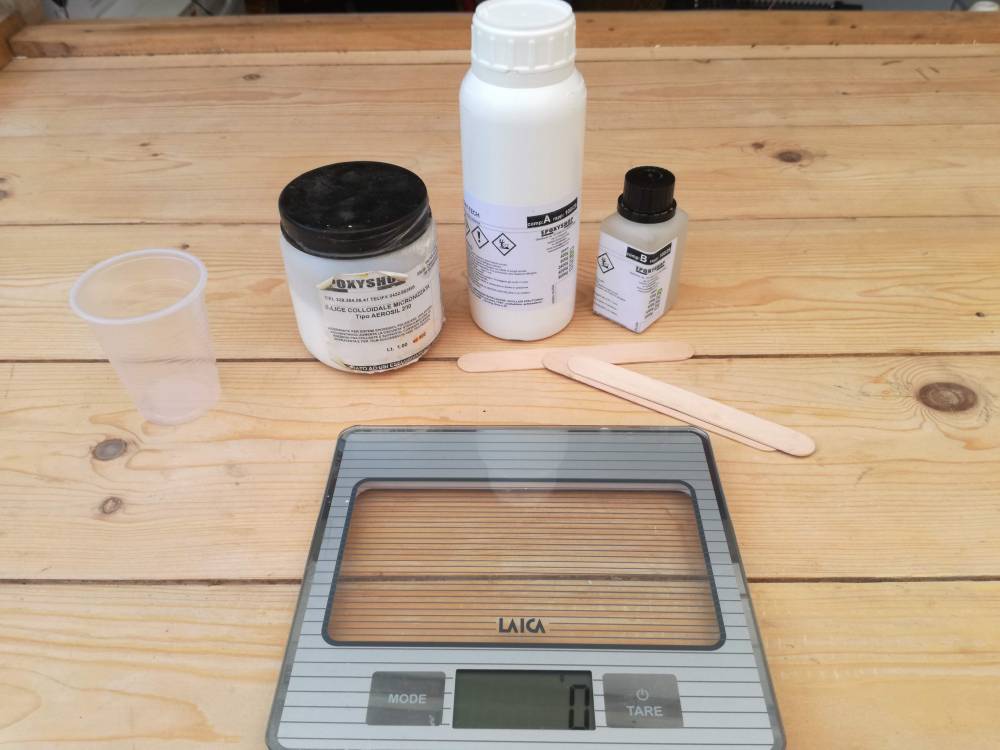
To repair the table you need:
Bi-component resin (epoxy in our case) consisting of resin and hardener to be used according to the ratio indicated by the manufacturer (in our case 100: 25).
Silicon powder (also called aerosil) for grouting
Fiberglass 80/100 gr per m2
Scale, spatula, sandpaper.
If you don't have what you need at home, you can order this kit on Amazon.
5. GROUTING
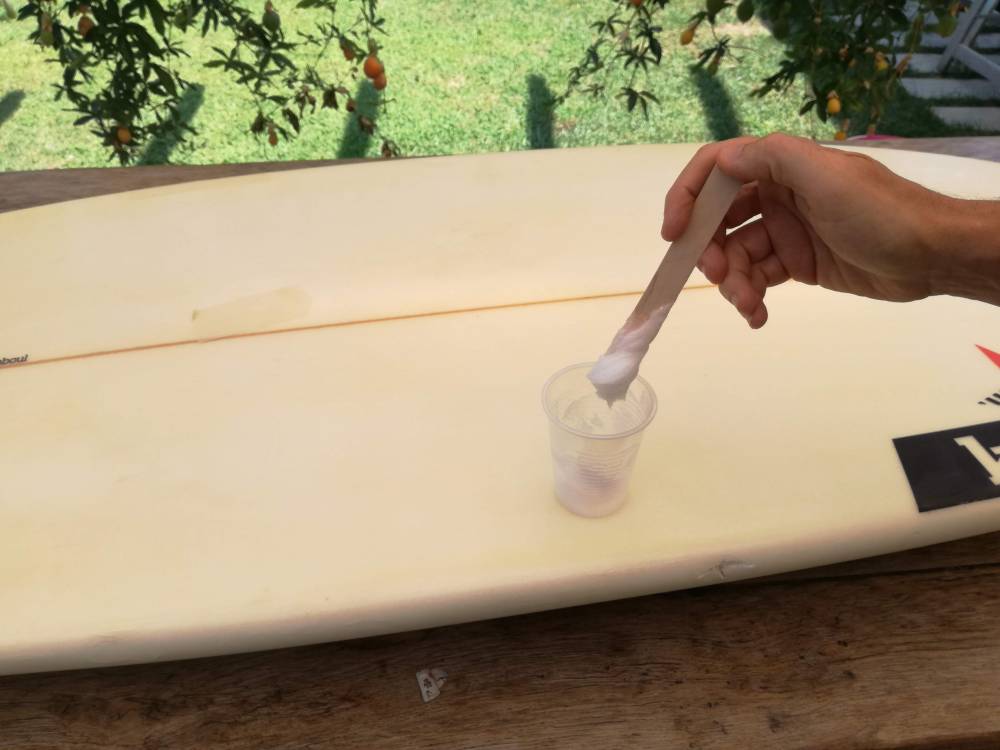
Spread a little more light sandpaper on the part that you need to repair, then proceed to grouting. To grout use the resin mixed with a little silicon powder, until reaching a consistency similar to that of the grout. Fill the crack well, smooth with a spatula and let it dry.
Once it is dry, finish making it very smooth with thin sandpaper
Always remember when working the resin that needs rather high temperatures to harden properly. If you work it outside (and it is always advisable, considering that not everyone in the garage has suction and air exchange systems) do it when the days start to heat up.
6. LAMINATION
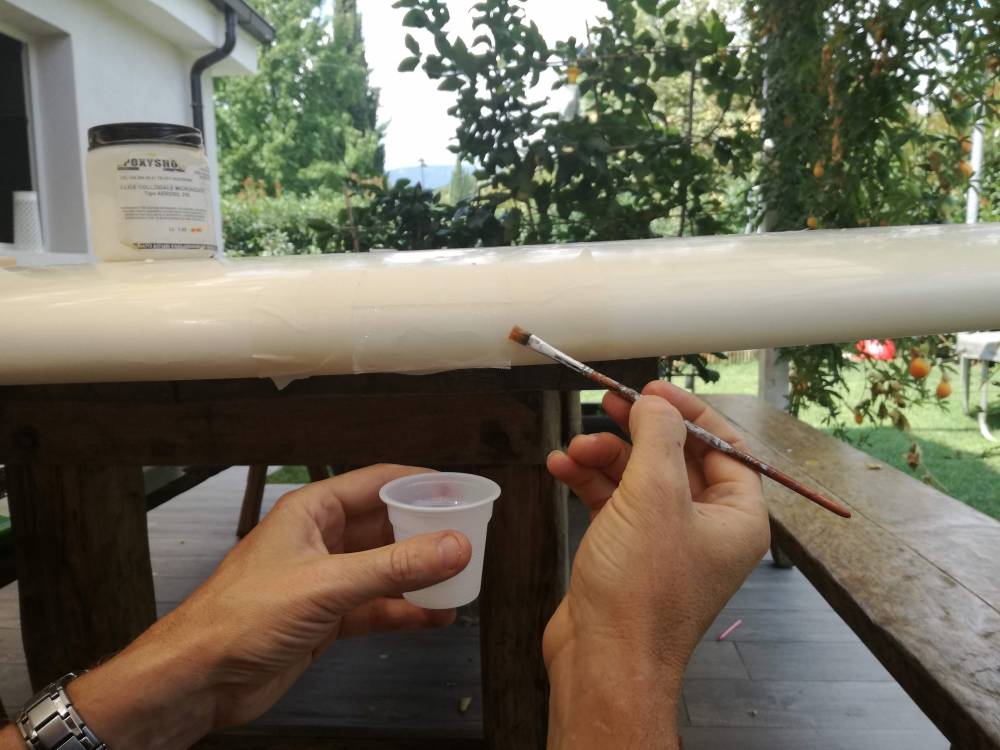
And here we are at the rolling phase. Mix the resin with the catalyst, according to the ratio indicated on the package. I recommend you to be extremely precise, because otherwise your resin may never harden or do it so quickly that it does not give you time to spread it.
To complete the repair, we take a piece of glass fabric, larger than the part we have grouted and place it on the part to be repaired. Of course this must be done after having carefully sanded the whole area which must be perfectly smooth. You can adhere and fix the resin with a brush. Once finished let it dry well, at least a day.
7. FINISHING
Cut away the excess fiberglass. Finish by sanding very lightly with a very fine-grained sandpaper. If your table is painted you can repaint it, otherwise you have finished the job.
Considerations
Nose and tail repairs work in exactly the same way, you just have to be a little more careful when you stretch the fiber so that no wrinkles form.
In the event of very deep and very extensive damage, it may be necessary to use more than one sheet of fiberglass.
Then there are those cases in which the damage is so serious, extensive and profound that it becomes necessary to rebuild an entire part of the table, including its soul ... but we will talk about it again!
Pubblicato il 26 marzo 2020 | Blog > Technique: KITESURF | SURF | SUP